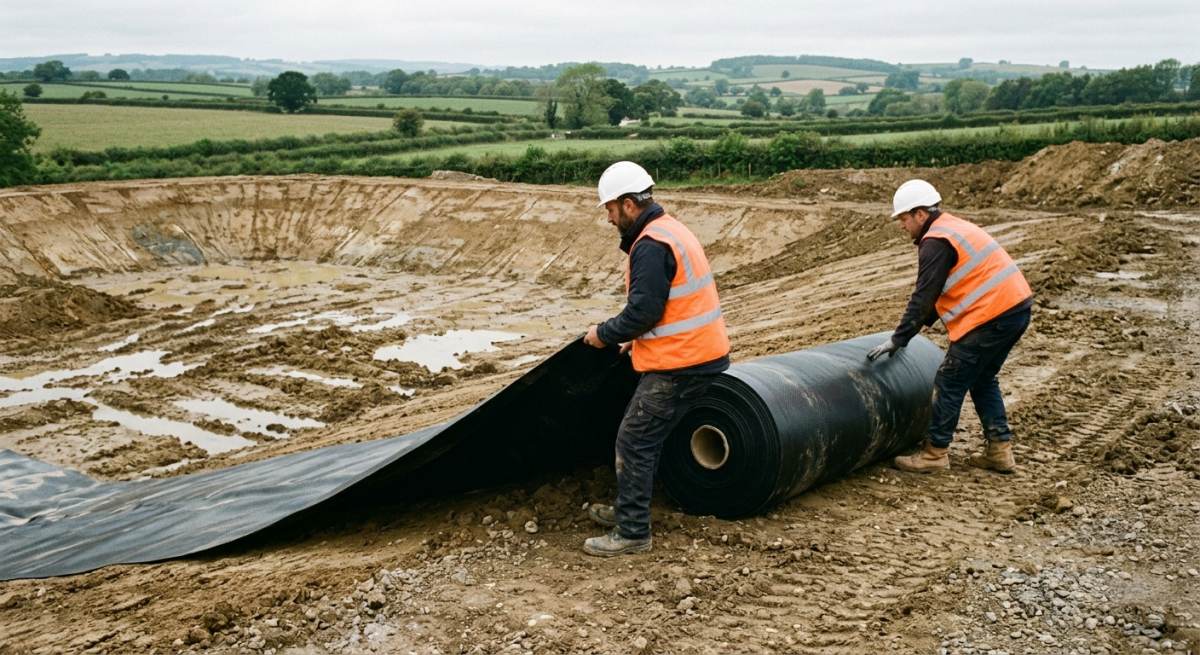
Ground gas barrier systems provide an essential defence against subterranean hazards, yet the busy nature of modern construction sites means puncture issues happen all too frequently. When a gas membrane installation suffers site damage after laying, swift action prevents hazardous vapour ingress and keeps your project compliant with strict environmental standards.
At Catalogue Engineering, our 30 years of hands-on industry expertise ensures main contractors receive clear, reliable guidance when unexpected breaches occur beneath their feet. This guide outlines the immediate, practical steps needed to contain site damage, secure the affected zone, and coordinate with specialist installers without creating costly project delays. By adopting a systematic approach to site safety protocols, your team can resolve membrane tears quickly, safeguard subterranean structural integrity, and maintain complete compliance throughout the build process.
Discovering a tear or puncture in a recently laid ground gas barrier usually brings ongoing groundwork to a complete standstill. Groundworkers often struggle to decide whether a quick surface patch is sufficient or if a full technical repair requires expert sign-off.
Leaving damaged areas exposed risks expanding the tear through wind uplift, foot traffic, or heavy machinery movements. This uncertainty leads to expensive project delays, compromised site safety protocols, and potential rejections during final validation inspections.
Implementing a clear 3-step containment plan allows site managers to isolate damage and clear debris without compromising structural compliance. Establishing these straightforward procedures ensures every gas membrane installation remains robust, keeping your site safe, compliant, and on schedule.
KEY TAKEAWAYS
- Halt all immediate trade activity within 3 metres of the damaged zone to prevent further tearing or structural displacement.
- Photograph the compromised membrane area clearly and cover it with a protective board to shield the breach from weather hazards.
- Notify your specialist validation team straight away to organise an approved heat-welded repair before backfilling work begins.
Table of Contents
- Assessing the severity of the damage
- Selecting the correct repair method and materials
- Step by step process for patch repairs
- Reinspection and verification by specialist installers
- Preventing post installation damage on busy construction sites
- Frequently Asked Questions around Gas Membrane Installation
Need Specialist Advice on gas membrane installation?
Speak to our technical team today for tailored specifications, regulations compliance, and practical support.
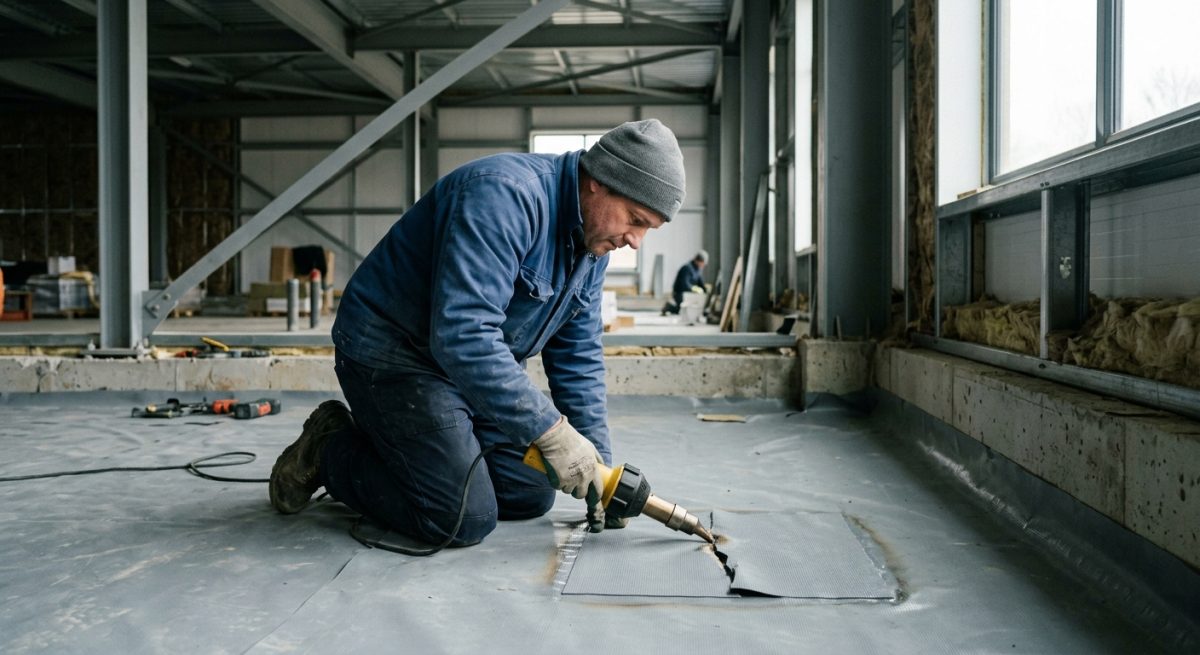
Assessing the severity of the damage
Once site damage occurs on an installed barrier, quick action prevents hazardous ground gas from breaching your structure. Evaluating the breach accurately ensures you choose the correct repair method without wasting time or resources.
Evaluating the physical scale of the puncture assessment
Determining the exact physical dimensions of the rupture helps you decide if a simple patch or a complex structural overlay is needed. You should immediately isolate the affected area and measure the breach using standard site calipers or a tape measure.
To establish the scope of the defect efficiently, follow these 3 practical steps on site.
- Clean all loose debris and dirt from around the tear size to expose the true edges of the compromised polymer.
- Measure the length and width of the cut to verify whether it falls within standard patch thresholds.
- Check if the rupture extends into any adjacent factory seams or structural wall penetrations.
If the tear size remains under 100 millimetres, a standard heat-welded patch normally restores full protection. However, larger tears or linear split lines caused by heavy plant machinery require a far more comprehensive structural repair strategy.
Checking for structural shifts and sub-base displacement
You must inspect the underlying sand blinding to ensure sharp sub-base aggregates have not forced their way upward through the sheet. A clean surface breach often masks deeper sub-grade disruption that undermines long-term performance.
When gravel or rubble shifts underneath, the membrane integrity suffers across a much wider footprint than the visible hole suggests. Pushing down on the surrounding material allows you to feel for hollow voids or sharp protrusions hiding beneath the flexible sheet. If the sub-base has settled, you must carefully slice back the affected section, re-compact the underlying sand layer, and reinstall a fresh panel. Skipping this step risks future micro-punctures once the concrete slab is poured directly overhead.
Assessing the gas risk profile and membrane integrity
Understanding the specific hazards of your site determines how strictly you must re-test the repaired barrier. High-risk locations contaminated by volatile organic compounds or high-concentration methane require far stricter validation than standard sites.
For instance, a radon barrier installed in a low-risk residential zone demands simple visual checks and lap verification after a minor scrape. Conversely, a hazardous brownfield membrane demands complete integrity testing, including electronic leak detection or trace gas testing. You should always consult the original remediation strategy to confirm the design parameters before signing off the fix. Matching your evaluation effort to the ground gas threat ensures full compliance with local building regulations and keeps future occupants safe.
| Remediation Method | Damage Type | Repair Process | Key Advantage | Verification Requirement |
|---|---|---|---|---|
| Self-Adhesive Gas Patch | Minor punctures or small tears up to 50 mm | Clean membrane surface, apply gas-resistant primer, press patch with 150 mm overlap around damage | Quick execution with minimal specialized equipment required on site | Visual inspection and seam probe test by an independent verifier |
| Thermal Heat Weld Patch | Linear slashes, large tears, or high-stress areas | Decontaminate area, cut matching membrane patch with 150 mm overlap, heat weld continuously using hot air gun | Creates a monolithic seal equal to the original membrane integrity | Pick test, air lance testing, or tracer gas validation |
| Liquid Gas Membrane Top-Coat | Complex penetrations, cluster pipe damage, or irregular tears | Remove loose debris, apply liquid gas-proof compound in 2 coats reinforced with elastomeric scrim | Seamlessly seals tight geometry where sheet overlap is difficult | Dry film thickness measurement and electronic leak detection |
| Full Section Replacement | Extensive structural crushing, chemical contamination, or multiple widespread tears | Cut out affected section back to sound material, weld new sheet segment using double-jointed lap seams | Completely restores performance across heavily compromised zones | Full reinspection and sign-off by a qualified gas protection verifier |
Selecting the correct repair method and materials
Selecting the appropriate remediation approach requires a thorough assessment of the physical tear alongside the specific gas regime on site. Matching the original membrane specification ensures long-term performance without compromising structural safety.
Assessing the extent of membrane damage
Minor punctures require straightforward patching, whereas extensive tears demand full structural replacement of the affected section. Identifying the exact nature of the breach ensures your team applies the most cost-effective fix without risking non-compliance.
When evaluating a breach, follow these 3 practical steps to determine the correct path forward:
- Measure the total surface area of the puncture to check if a simple overlay patch is sufficient.
- Inspect the surrounding barrier to ensure sub-base movement has not stretched adjacent panels.
- Clean the area thoroughly to remove site debris, dust, and moisture before applying fresh materials.
If a tear spans more than 100 mm, fitting a larger gas-resistant patch is standard practice. The replacement material must always match the parent barrier in density and chemical resistance to guarantee full protection against volatile ground gases.
Choosing between tape systems and thermal welding
Small pinholes respond well to specialist adhesive lap tapes, whilst severe structural damage demands rigorous hot-air tanking techniques. Selecting between these two methods depends entirely on the risk level of the ground gas regime.
- For low-risk sites, apply high-performance double-sided tape between overlapping sheets, ensuring a continuous 150 mm lap width.
- Roll the joint with a heavy silicone hand roller to guarantee a robust, continuous seal across the entire join.
- For high-risk hydrocarbon or radon environments, choose specialist extrusion welding to physically fuse the repair patch to the parent sheet.
Thermal jointing creates a monolithic bond that easily outperforms simple adhesive alternatives under severe ground pressure. Specialist installers with 30 years of industry experience routinely favour hot-air welding because it offers verifiable strength across challenging site conditions.
Ensuring regulatory compliance and integrity testing
Every completed repair must meet strict industry standards before you pour concrete or backfill the area. Documenting every patch ensures your installation maintains full BS 8485 compliance for building control approval.
Once the repair method is complete, verify the air-tight seal using non-destructive site testing. Visual inspection alone cannot catch microscopic pinholes, so independent integrity testing using tracer gas or electric arc equipment provides complete peace of mind. Keeping a detailed site log of all repaired punctures helps build a robust audit trail for local authority sign-off. Taking these careful steps protects both the structural build and the ultimate safety of the finished project.
Step-by-step process for patch repairs
When site traffic or follow-on trades compromise an installed gas barrier, carrying out a prompt, well-executed repair is essential to maintain full site safety. Remedying localised punctures or tears requires a disciplined approach to ensure the gas-resistant integrity of the system remains completely uncompromised.
Inspect and prepare the damaged area
Accurate surface preparation forms the bedrock of any successful membrane repair on a busy construction site. You must clean the surrounding sheet thoroughly to ensure the replacement patch adheres perfectly to the original material.
- Remove all loose dirt, construction dust, and standing water from the repair zone using a clean cloth.
- Execute thorough surface cleaning with a site-approved solvent wiper to remove stubborn grease and ground contaminants.
- Mark out a clear inspection boundary extending at least 150 mm beyond the absolute edges of the damage.
Cut and position the membrane patch
Sizing your replacement material correctly guarantees that the final repair resists underground gas migration effectively. Cut a patch from fresh, matching membrane stock to ensure absolute material compatibility across the entire substrate.
- Measure the precise dimensions of the tear and calculate a generous patch overlap extending past the damage in all directions.
- Cut the patch material with rounded corners to prevent sharp edges from snagging during subsequent trade works.
- Position the patch squarely over the puncture, maintaining an equal margin around the entire perimeter.
Weld and roll the lap seam
Thermal welding creates a permanent bond that completely seals the fresh material to the existing barrier sheet. Applying firm pressure along the joint ensures a robust gas-impermeable seal that withstands heavy structural loads.
- Apply controlled heat to the lap area using professional thermal welding equipment set to the correct operating temperature.
- Pass a heavy seam roller along the heated joint to press the flexible plastic layers firmly together without trapping air pockets.
- Run an approved lap-testing probe along the finished edge to verify complete seal integrity once the material cools down.
By sticking to this structured routine, your site team can handle unexpected damage quickly while keeping your overall gas management system fully compliant with strict UK building standards.
Reinspection and verification by specialist installers
Returning to site for a rigorous visual inspection
Specialist installers must immediately re-enter the site to physically examine the damaged ground gas barrier. This initial walk-over allows qualified technicians to assess the full extent of puncture marks, tears, or compromised overlaps.
When trade crews puncture a ground gas membrane, a quick glance from a general site manager is never enough. Specialist installers possess the trained eyes required to detect subtle integrity failures that others miss. During this phase, installers systematically track every square metre of the affected zone to build a comprehensive picture of the required remedial work.
A thorough visual inspection follows a clear sequence:
- Identify the primary point of impact alongside any secondary scuffs caused by nearby plant or heavy tools.
- Mark out the perimeter of the damage using site-safe pens, ensuring a generous safety margin around the tear.
- Check adjacent lap joints to confirm that nearby heat welds or butyl tapes have not unbonded under stress.
Deploying dielectric testing for hidden punctures
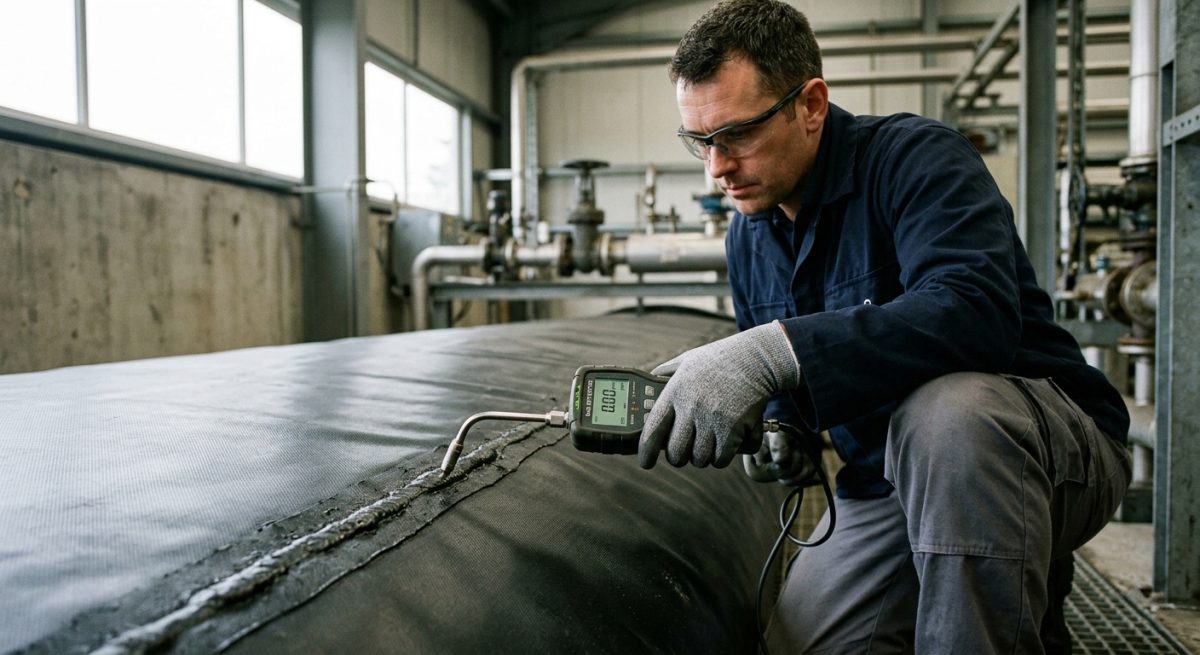
Dielectric testing offers a precise method for detecting microscopic pinholes that remain invisible to the naked eye. This non-destructive testing process uses high-voltage sparks to pinpoint exact breaches across the entire membrane surface.
Visual checks alone cannot uncover micro-fractures caused by dropped fixings or sharp aggregate underneath the barrier. By passing a high-voltage brush over the suspect areas, technicians create a grounded circuit whenever the probe passes over a hidden breach. An audible alarm immediately alerts the operator to the exact location of the defect. This high-precision approach ensures that every single microscopic tear receives a robust, permanent repair before contractors pour the slab.
Ensuring total C673 compliance and independent validation
Achieving full compliance with CIRIA C673 guidelines is mandatory for proving that repaired gas barriers remain safe and fit for purpose. Independent validation provides the final signed-off guarantee that site regulators and local authority officers demand.
Once installers repair the compromised membrane, the entire process requires meticulous documentation to satisfy strict regulatory standards. Re-engaging an independent validation specialist ensures an unbiased assessment of the patched sections. These third-party inspectors review the repair log, double-check the specialist installer credentials, and issue a formal validation sign-off. This rigorous verification chain protects property owners, safeguards future occupants against hazardous soil gases, and maintains complete compliance with modern British building standards.
Preventing post-installation damage on busy construction sites
Preventing post-installation damage requires proactive site management and clear physical boundaries. When trades pile into a tight working area, delicate membranes face constant risk from heavy foot traffic, sharp tools, and abrasive debris.
Installing temporary protective overlays
Laying heavy-duty protection fleece or temporary boarding instantly safeguards exposed membranes from immediate site hazards. This simple physical buffer absorbs sharp impacts and prevents accidental punctures while subsequent trades complete their work nearby.
To establish a resilient defence before pouring the final screed cover, site managers should implement a robust 3-step protection routine.
- Clean the freshly installed membrane using soft-bristles to remove abrasive grit and sharp stones.
- Roll out a high-grade protection fleece across the entire floor area, overlapping all adjoining seams by at least 100 millimetres.
- Secure rigid timber boards over high-traffic thoroughfares to distribute heavy wheelbarrow loads evenly.
Managing trade access and sequencing
Restricting site access until protective layers are fully positioned keeps untoward damage to an absolute minimum. Good trade management ensures that bricklayers, plumbers, and electricians only enter the zone after the gas mitigation system is fully shielded.
Site supervisors must coordinate daily sub-contractor activities around the handover schedule. Clear signage should mark out active gas barrier zones as off-limits to heavy plant equipment, while designated walkway corridors direct general foot traffic safely across the footprint. Scheduling high-risk works, such as overhead welding or heavy scaffolding erection, before membrane deployment also removes severe threat vectors entirely.
Conducting daily site inspections
Routine visual checks pick up minor surface abrasions before they turn into costly gas leaks. Spotting compromised membrane sections early allows specialist teams to repair punctures before concrete pours cover the damage permanently.
- Walk the entire perimeter each morning to verify that protection fleece remains securely weighted down.
- Inspect high-risk penetrations around pipe entry points and internal corners for signs of displaced sealing tape.
- Log any visible tears in a central site register and notify certified installers immediately for patch repairs.
By combining physical barriers with disciplined scheduling, you safeguard your project against unexpected delays and expensive reinstatement works. Taking these straightforward precautions preserves membrane integrity and guarantees long-term protection for the completed building.
Frequently Asked Questions around Gas Membrane Installation
How Do You Know If an Installed Gas Membrane Has Been Damaged?
The easiest way to spot damage is by carrying out a thorough visual inspection before any further building work covers the barrier. You should look out for obvious tears, punctures from dropped tools, or loose joints where the top hat seals around service pipes might have lifted.
For a completely reliable check, a specialist independent validator will often use non-destructive testing techniques. These methods include trace gas testing or electronic leak detection, which can pinpoint even the smallest microscopic pinholes hidden from the naked eye.
Can You Simply Patch a Damaged Area of the Membrane?
Yes, you can patch a damaged area, provided the repair follows the correct manufacturer guidelines and local building details. Small punctures or tears are easily fixed by cutting a patch from the same membrane material that extends at least 150 mm beyond the edge of the damage in every direction.
Before placing the patch, you must ensure the surrounding area is clean, dry, and free from grit or dust. The patch is then welded into place using hot air tools or joined with approved gas-resistant tape, ensuring a continuous seal that keeps harmful ground gases out.
Who Is Responsible for Inspecting the Gas Membrane for Damage?
The main site contractor holds overall responsibility for managing site activities and ensuring installed membranes remain undamaged throughout the build. However, an independent validation engineer must carry out the formal inspection to sign off the installation for local authority approval.
This third-party validator checks the quality of the seams, inspects any repaired sections, and ensures the entire system meets the required British standards. Having this independent check gives everyone complete peace of mind that the building is properly protected.
What Are the Common Causes of Site Damage After Installation?
Most damage happens simply because a construction site is a busy environment with lots of trade workers moving around. Heavy foot traffic, wheelbarrows, and sharp tools dropped onto an unprotected membrane are the primary culprits for punctures and tears.
Subsequent works can also cause issues, such as tradespeople fitting insulation or pouring concrete over the barrier without adequate care. Unsecured membrane edges can also lift or tear if left exposed to strong winds and bad weather over a weekend.
How Can You Protect a Gas Membrane Right After It Is Fitted?
You can protect a freshly fitted membrane by immediately laying a protective layer over the top of it. Placing board protection, a slip membrane, or a screed layer directly over the gas barrier shields it from punctures and heavy site traffic.
It is also wise to set up clear warning signage and restrict access to the area until that protective layer is safely in place. Taking these simple preventive steps early on saves a great deal of time and money on potential repairs later.
Does Small Damage Really Matter If the Rest of the Installation Is Fine?
Yes, even a tiny hole matters immensely because ground gases like methane and carbon dioxide flow through the path of least resistance. If gas builds up under the slab, a single unsealed pinhole or split seam allows those hazardous fumes to leak directly into the building above.
Ignoring small tears compromises the safety of the entire gas protection system. Repairing every minor defect promptly ensures the barrier works exactly as designed and keeps the future occupants safe.
Do You Need Special Equipment to Repair a Gas Membrane?
Yes, you generally need specialised equipment to ensure the repair matches the gas resistance of the original installation. Most modern membranes require a hot air welding gun to fuse the patch securely to the base sheet without leaving any gaps.
In some cases, specific double-sided butyl tapes and gas resistant top tapes are approved for small repairs. You should always use the exact repair products specified by the system manufacturer to maintain your warranty and compliance.
What Should You Do If You Find Damage Just Before Concrete Is Poured?
You must stop the concrete pour immediately in that specific section until the damage is fully repaired and checked. Pouring concrete over an unsealed tear permanently buries the defect, making it impossible to fix without expensive remedial works later.
Inform the site manager and call your validation engineer to oversee or document the repair if required. A quick 15-minute pause to patch the sheet properly will prevent massive delays and headaches further down the line.
Will Damage Repairs Affect the Compliance Sign-Off for the Site?
Properly executed repairs will not harm your final compliance sign-off at all. In fact, identifying defects and repairing them correctly demonstrates that your site quality control process is working exactly as it should.
The key is to document every repair with clear photographs and accurate notes in the site logbook. The independent validator will include these records in their final report to demonstrate full compliance with regulatory guidance.
How Much Does It Cost to Repair a Damaged Gas Barrier?
Fixing minor damage during the construction phase is surprisingly cheap, often costing under £100 for basic patch materials and labour. The real cost comes from the time lost if you have to halt work while a specialist team comes back to site.
However, leaving damage uncorrected until after the building is completed is a completely different story. Remedial works on a finished property can easily run into thousands of pounds, so catching and fixing issues early is always the most economical choice.
Ready to Discuss Your gas membrane installation Project?
Get in touch with our specialists today for detailed site guidance, technical specifications, and a quotation tailored to your requirements.