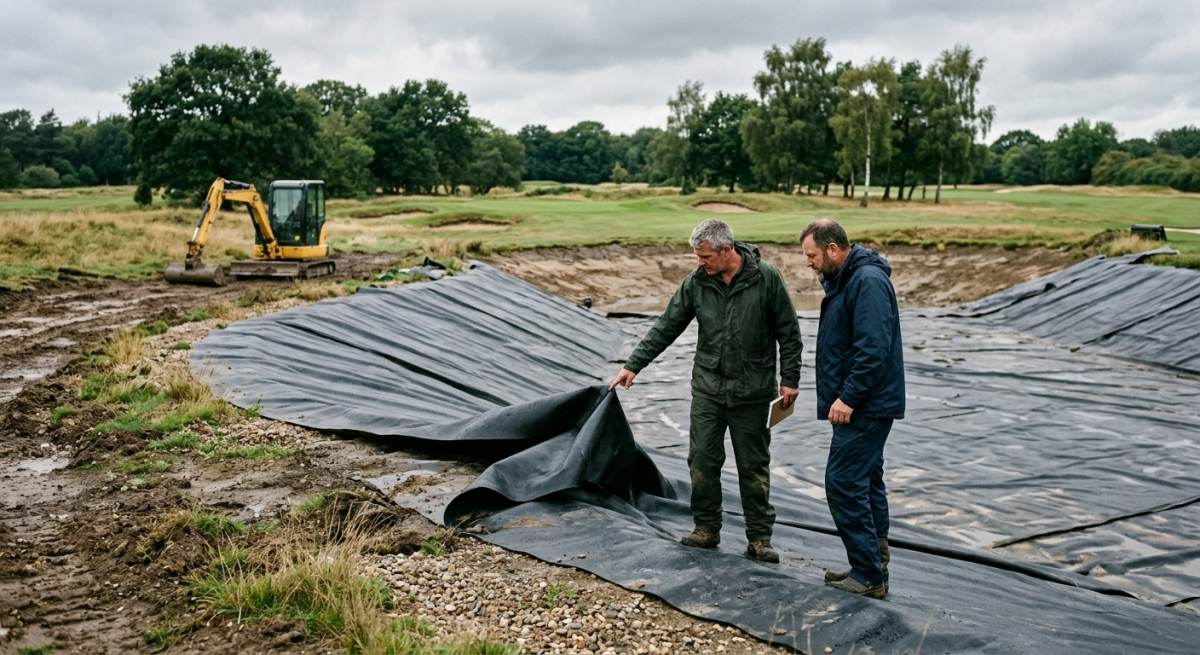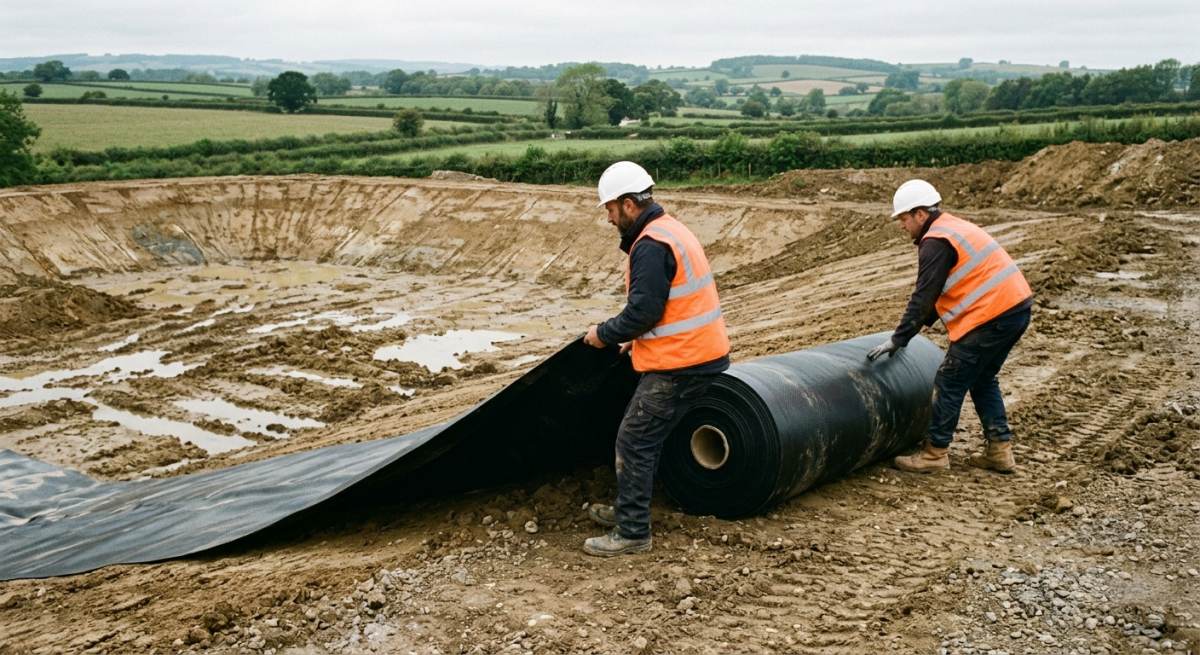
Installing effective ground gas barriers on site demands close attention to detail, particularly when winter conditions set in across the UK. Cold weather presents distinct physical hurdles during gas membrane installation, as freezing temperatures directly alter the physical properties of heavy-duty polyethylene sheeting. When working with specialised joint welding techniques, lower ambient air temperatures accelerate heat loss from hot-wedge and hot-air equipment. This sudden cooling can compromise seal integrity if technicians fail to adapt their daily site procedures. Over our 30 years of experience at Catalogue Engineering, we have seen how winter chills cause thermal contraction, making materials stiffer and far less forgiving during layout. By understanding how low temperatures influence molecular bonding, site teams can refine their thermal controls, protect structural integrity, and ensure every joint achieves a robust, long-term seal regardless of the winter weather.
Undertaking joint welding on cold, damp sub-bases creates severe operational friction that regularly slows down site progress. Technicians frequently struggle with reduced material flexibility and persistent surface condensation when laying polyethylene sheeting in near-freezing conditions.
These recurring site delays quickly generate unnecessary expense and operational frustration as unverified seals fail initial pressure testing. Reworking brittle, poorly bonded membrane seams wastes valuable labour hours and risks delaying the broader construction schedule.
Adopting temperature-controlled pre-heating methods and calibrated welding speeds resolves these cold-weather challenges cleanly and sustainably. Implementing rigorous surface preparation protocols ensures your site team produces dependable, continuous gas barriers throughout the coldest months of the year.
KEY TAKEAWAYS
- Low ambient temperatures cause thermal contraction in polyethylene sheeting, increasing material tension across all welded seams.
- Moisture and sudden heat dissipation disrupt joint welding by preventing the plastic from reaching its optimal melting point.
- Calibrating thermal welding equipment to suit local winter conditions guarantees long-term gas barrier performance and site compliance.
Table of Contents
- How Low Temperatures Alter the Heat Fusion Process
- Managing Moisture and Frost on Substrates and Overlaps
- Essential Winter Testing Procedures for Joint Integrity
- Best Practice Site Preparation and Storage Methods
- Frequently Asked Questions around Gas Membrane Installation
Need Specialist Advice on gas membrane installation?
Speak to our technical team today for tailored specifications, regulations compliance, and practical support.
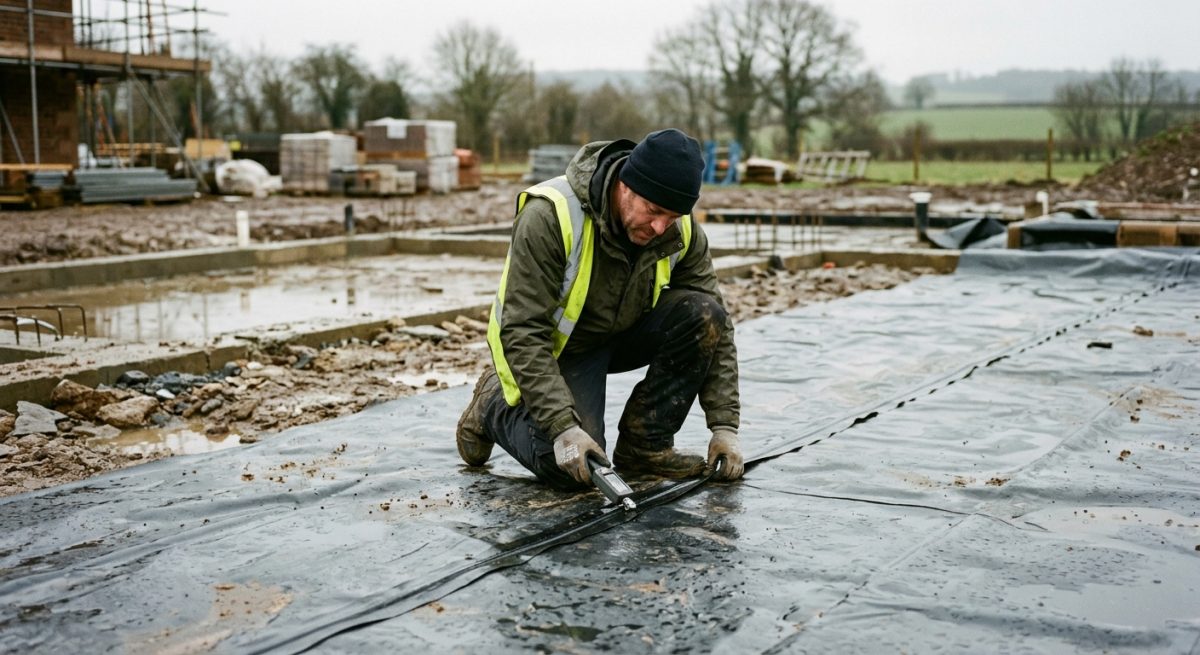
How Low Temperatures Alter the Heat Fusion Process
When ambient temperature drops below safe operational thresholds, the thermodynamic principles governing gas membrane installation change dramatically. Achieving a robust, gas-tight seal requires careful management of your heat sources to ensure proper molecular bonding between synthetic sheets.
Understanding thermal dissipation during hot wedge welding
Cold surrounding air rapidly siphons thermal energy away from the hot wedge during active jointing operations. This accelerated cooling rate prevents the polyolefin membrane surfaces from reaching their ideal molten state before pressure rollers compress the seam.
To counteract this rapid heat loss, site technicians must make specific real-time adjustments to maintain joint integrity:
- Reduce the machine travel speed to increase contact time between the heated copper wedge and the membrane sheet.
- Incrementally raise the set-point temperature of the welding equipment to offset the immediate chilling effect of cold gusting winds.
- Pre-warm the seam overlap area using a handheld hot-air blower to minimise thermal shock to the parent material.
Without these precise modifications, the resulting weld often suffers from incomplete fusion, leaving weak spots that fail air lance pressure tests.
Managing melt flow rates in cold weather extrusion welding
Extrusion welding becomes significantly more challenging in freezing weather because the molten extrudate cools down almost instantly upon exiting the nozzle. If the surrounding substrate is too cold, the hot molten bead sits on top of the sheet rather than fusing into the base material.
Site teams must strictly monitor pre-heat temperatures along the target seam prior to introducing extrudate. Using an integrated hot-air pre-heater helps create a receptive weld zone, allowing the polymer chains to intermingle correctly before the material solidifies. Skipping this step often causes brittle seams that snap under structural settlement loads.
Controlling cooling rates to prevent weld embrittlement
Plunging temperatures alter how heat fusion joints cure, often forcing the polymer matrix to crystallise far too quickly. This rapid quench effect creates micro-voids and high residual stress along the seam boundary, severely compromising the long-term flexibility of your gas barrier.
Engineers recommend placing thermal insulation blankets over freshly welded joints to slow down the cooling cycle. Shielding the joint area from harsh drafts allows the heat fusion process to complete gradually, yielding a ductil, high-strength seam that comfortably resists hazardous ground gas migration for decades to come.
| Jointing Approach | Thermal Performance in Cold | Primary Risk Factor | Mitigation Strategy | Optimal Application |
|---|---|---|---|---|
| Automated Hot Wedge Welding | Maintains high temperature consistency through continuous direct contact | Rapid sheet cooling dissipates heat before molecular fusion completes | Reduce drive speed by 10 to 15 percent and increase drive roller pressure | Long continuous seams on thick HDPE gas barriers below 5 degrees C |
| Handheld Hot Air Fusion | Highly vulnerable to ambient chill and cold cross-winds | Inconsistent weld depth causing cold spots and weak seal integrity | Use pre-heating passes and deploy mobile wind shelters around the operative | Detailing around service penetrations, corners, and internal pipe boots |
| Extrusion Welding | High thermal mass from molten extrudate resists rapid chilling | Thermal shock to frozen parent membrane leading to stress cracking | Thoroughly pre-heat the target seam area to at least 15 degrees C before applying extrudate | Heavy duty membrane repairs and tie-ins to structural concrete footings |
| Dual-Sided Butyl Tape Jointing | No heat required but compound stiffens dramatically in cold conditions | Loss of initial tack causing moisture ingress and joint failure | Store tapes in a heated site store and warm membrane faces with a gentle hot air gun | Temporary gas membrane laps or unreinforced loose-laid barrier systems |
Managing Moisture and Frost on Substrates and Overlaps
Managing surface condensation before jointing
Surface condensation creates a invisible barrier that prevents gas membranes from fusing correctly during hot-air welding. You must thoroughly dry all overlap zones to guarantee a robust, gas-tight seal across the entire site.
When cold winter temperatures hit, moisture rapidly collects on cold plastic sheets. This trapped water turns to steam under the heat gun, creating tiny air pockets and weakening the final bond.
- Wipe down the overlap area using clean, dry microfibre cloths to remove visible standing water.
- Monitor the local atmospheric dew point against the substrate temperature to predict ongoing moisture risks.
- Apply gentle heat along the joint area using a dedicated hot-air blower to evaporate micro-droplets.
Eradicating frost from substrate prep areas
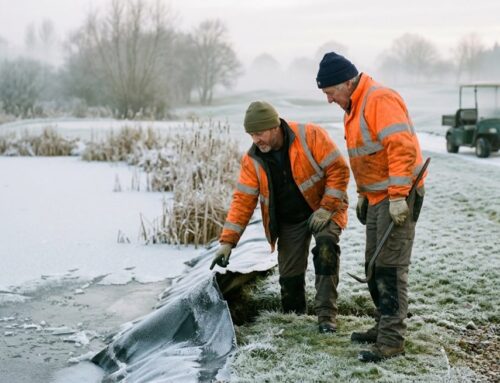
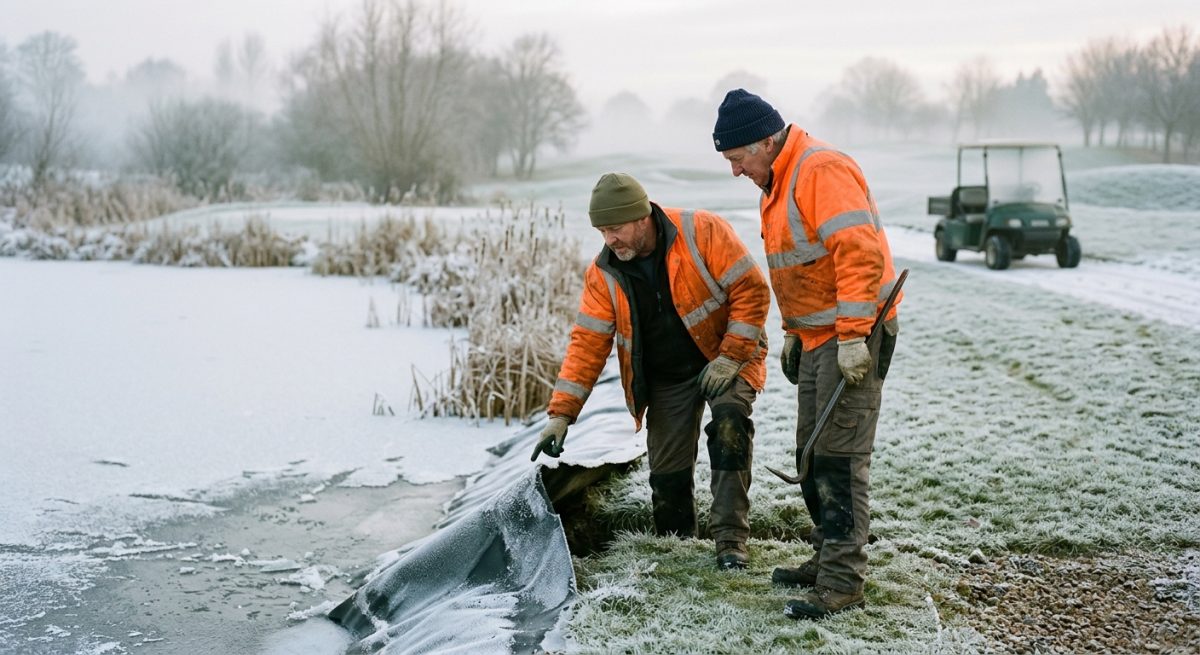
Frost on a ground gas barrier acts as a severe thermal heat sink that ruins weld integrity. You need to strip away frozen deposits completely before attempting any technical jointing work.
Ice draws heat away from the welding equipment, causing cold-weld failures that look sound but split under minimal stress. Site operatives must remain vigilant when morning temperatures hover around freezing.
- Sweep away loose frost particles with a stiff-bristled broom across the working area.
- Run a controlled preheating seam pass along the membrane edge to melt stubborn, bonded ice crystals.
- Towel dry the warmed surface immediately before the water refreezes onto the sheet.
Preheating seam overlaps for maximum bond strength
Preheating seam overlaps restores the flexibility of cold membrane sheets and drives off residual moisture. This straightforward preparation technique ensures the dual-wedge or hot-air welder creates a permanent structural fusion.
Chilled membrane material resists thermal bonding because the core temperature of the sheet drops too quickly. Warming the joint zone gives you the best chance of achieving a certified, pass-rate weld on site.
To maintain steady progress in freezing conditions, establish a simple sequence. First, inspect the target joint for dirt or frost buildup. Next, execute a slow preheating pass along the bottom sheet to raise its core temperature. Finally, guide the main welding machine along the prepared pathway while checking the continuous squeezed-out bead.
By taking these practical steps, your installation team protects the integrity of every ground gas barrier. Taking extra care with site preparation stops water contamination from compromising your sub-structure protection systems.
Essential Winter Testing Procedures for Joint Integrity
Sub-zero temperatures drastically alter the mechanical properties of geomembranes, making rigorous field verification non-negotiable on modern construction sites. Deploying robust quality assurance protocols ensures every welded seam maintains structural integrity despite harsh sub-ambient conditions.
Conducting Non-Destructive Air Lance Testing
Air lance testing provides an instant, non-destructive evaluation of long weld runs by directing compressed air along the exposed seam edge. This practical field check exposes minor void spaces and unbonded areas before cold-weather stress leads to systemic failures.
To execute a reliable on-site inspection, technicians should follow this basic 3-step routine:
- Adjust the air compressor to deliver a continuous stream at 30 to 35 psi through a 5 mm nozzle tip.
- Hold the nozzle roughly 10 mm from the seam edge, angling the airflow directly at the overlap joint.
- Walk the length of the weld slowly, watching closely for any lifted edges or sheet deflection that signals a poor bond.
Implementing Pressure Testing on Dual-Track Welds
Dual-track thermal welds require systematic pressure testing to verify that the internal air channel remains completely airtight under low-temperature conditions. Cold air can cause premature seal relaxation, so maintaining strict pressure thresholds is paramount for site compliance.
First, insert a hollow test needle into the sealed channel and inflate the space using a manual pump. Once the pressure gauge reads between 25 and 30 psi, isolate the valve and monitor the display for 5 full minutes. A stable pressure reading confirms a continuous seal, while any immediate drop indicates an incomplete weld that requires targeted repair.
Performing On-Site Destructive Seam Testing
Destructive seam testing involves cutting physical samples from the site perimeter to evaluate the true mechanical bond strength of the joint. This rigorous laboratory check ensures the thermal weld can withstand heavy structural loads without delaminating.
Field teams extract a 25 mm strip across the welded overlap and place the sample into a portable tensiometer. The device pulls the sheet ends in opposite directions until failure occurs, recording the exact force applied. A successful test proves that the tensile strength of the seam equals or exceeds the raw parent material, confirming that cold weather has not compromised the installation.
Best Practice Site Preparation and Storage Methods
Pre-conditioning materials before joint welding
Maintaining a controlled core temperature for rolls prior to deployment stops thermal shock from ruining your site progress. When membrane storage takes place in freezing conditions, the material stiffens and resists thermal fusion, leading to sub-standard seams.
To safeguard your materials and ensure smooth deployment across winter projects, follow this simple pre-conditioning routine:
- Relocate rolls into a heated store or insulated container at least 12 hours before planned installation.
- Maintain an ambient holding temperature above 10°C to keep the polymer flexible for deployment.
- Rotate stock on a strict first-in, first-out basis to prevent cold spots from developing in older inventory.
By taking these steps, you protect the base polymer from micro-fracturing during unrolling. Flexible sheeting lays flatter on the sub-grade, which reduces puckering and simplifies the alignment process for field technicians.
Setting up localised welding shelters
Deploying purpose-built welding shelters creates a stable micro-climate that shields vulnerable seams from freezing wind and moisture. Without a reliable physical barrier, ambient cold air rapidly siphons heat away from your hot-wedge equipment and ruins joint integrity.
These temporary covers act as your primary line of defence against harsh seasonal weather. Positioning heavy-duty canvas or framed structures directly over the active seam allows your team to control local humidity and maintain target welding temperatures. In addition, these enclosures protect technicians from bitter draughts, allowing them to focus on precision tracking along the overlap. When combined with portable warm-air blowers, localised shelters maintain a consistent heat balance that prevents cold-shock failures during quality testing.
Sub-grade preparation and surface drying
Preparing a clean, dry sub-base prevents trapped moisture from flashing into steam and creating weak voids during joint fusion. Laying gas barriers directly onto frozen or saturated ground guarantees trapped frost will melt, compromise seam strength, and trigger failures during testing.
Site conditions require rigorous inspection before any sheeting touches the ground. Site engineers should remove standing water, clear away icy debris, and lay down dry geotextile underlayers where necessary. Taking time to dry the immediate overlap zone with a hot-air tool ensures the material remains free from fine condensation. This methodical approach ensures clean polymer-to-polymer contact, protecting the overall build quality and making CQA validation entirely straightforward for the sign-off team.
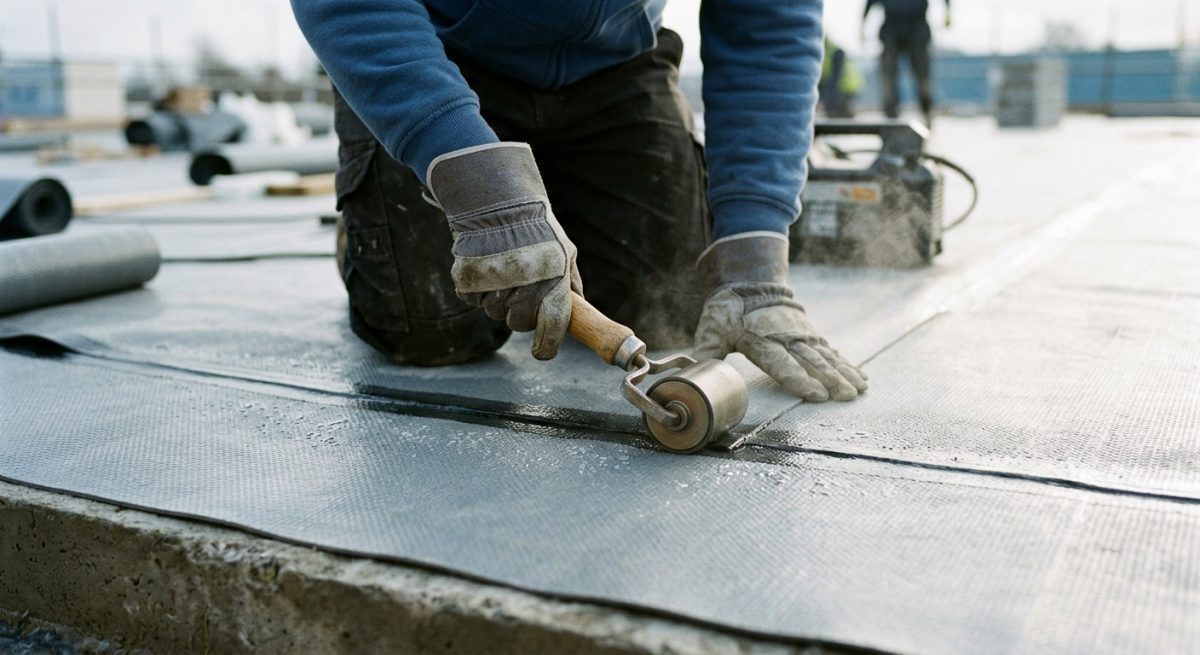
Frequently Asked Questions around Gas Membrane Installation
How Does Cold Weather Affect Gas Membrane Welds?
Cold weather slows down the heating process and causes the plastic membrane to lose its flexibility, which makes achieving a strong, continuous weld much harder. When temperatures drop below 5°C, the material cools down far too quickly after the heat gun passes over it. This rapid cooling often leads to weak seams or brittle joints that can easily fail during pressure testing.
To get a reliable seal in the winter, you need to adjust your welding speed, raise the temperature settings slightly, and keep the joint area completely dry. It is always worth taking a bit of extra time to prepare the material properly rather than rushing the job and having to fix failed seams later on.
What Is The Minimum Temperature For Installing Gas Membranes Safely?
You should generally avoid installing gas membranes when the ambient air temperature drops below 5°C unless you have suitable winter precautions in place. Most manufacturers state that standard thermal jointing becomes unreliable at lower temperatures because the plastic cannot reach its ideal melting point safely.
If you must work in colder conditions, you will need to set up heated shelters or pre-warm the membrane rolls using indirect heating equipment. Keeping the material stored in a warm room right up until the moment you lay it out will make a huge difference to the quality of your finish.
Why Do Gas Membranes Become Brittle In The Winter?
Gas membranes are usually made from polymers like polyethylene, which naturally stiffen and lose their elasticity as the temperature falls towards freezing. This change in the physical state of the plastic makes the membrane prone to cracking when it is folded, rolled out, or handled roughly on site.
Handling stiff sheets is not just annoying for the fitting crew, it actually risks creating micro-fractures along the seams that let ground gas escape. Storing your rolls in a temp-controlled space before laying them will help the plastic stay soft and pliable.
Can Rain Or Frost Damage A Freshly Welded Joint?
Yes, moisture from rain, frost, or condensation will instantly ruin a hot-air weld if it gets trapped between the overlapping sheets of membrane. Water turns to steam when the heat gun touches it, which creates air pockets and stops the two layers of plastic from fusing together properly.
You must ensure that all joint surfaces are totally dry and clean before you begin welding in wet or frosty weather. A quick wipe with a dry cloth and a light warm air pass to drive off invisible moisture will save you hours of repair work later.
How Should I Adjust My Welding Heat Gun In Cold Conditions?
You will usually need to increase the heat setting on your hot-air gun by 10 to 20 degrees when working in cold, windy environments. The freezing ambient air pulls heat away from the welding nozzle very quickly, meaning the plastic surface does not get as hot as the display screen suggests.
However, you must be careful not to burn the top layer of the membrane by holding the gun still for too long. Performing a few test welds on scrap pieces of membrane at the start of every shift will help you find the exact balance between heat and travel speed for the day.
Do I Need To Perform More Quality Checks In Colder Months?
Yes, you should carry out visual inspections and destructive seam testing far more frequently during the winter season. Cold weather increases the risk of cold-lapping, which is where the weld looks fine on the surface but has not actually bonded underneath.
Using a seam probe along every single linear metre of joint will help you spot unbonded sections immediately. Keeping a detailed site log of all your ambient temperature readings and test results is also a great way to prove that your installation meets the required standards.
How Does Wind Chill Impact Gas Membrane Installation?
Strong winter winds strip heat away from the welding area almost instantly, making it nearly impossible to maintain a steady melting temperature. Gusts of cold air can also blow dirt and debris directly into the freshly heated joint before you have time to roll it flat.
Setting up temporary windbreaks or working inside portable welding tents will protect your work area from the worst of the weather. These small enclosures keep the surrounding air stable and stop your equipment from cooling down too fast.
Is Tape Jointing Better Than Thermal Welding In The Cold?
Double-sided butyl tape can be a helpful alternative for small detail work in cold weather, but it still requires warm surfaces to stick properly. The adhesive on jointing tapes turns hard and loses its tackiness when the temperature drops near 0°C, which leads to poor adhesion over time.
For main membrane runs, thermal hot-air welding remains the safest and most durable method all year round. If you do use tape for pipe penetrations or corners in the winter, always warm the membrane surface gently with a hot-air gun first to ensure a firm bond.
How Should Gas Membrane Rolls Be Stored On Site In Winter?
You should store all gas membrane rolls indoors or inside a heated store container kept at a temperature above 10°C. Leaving rolls outside on wooden pallets in freezing weather makes the material far too rigid to unroll smoothly without creasing or cracking.
Try to bring out only the specific number of rolls you plan to lay within the next hour. This simple bit of planning keeps the membrane workable and makes the whole laying process much faster for the installation team.
What Are The Risks Of Rushing A Winter Installation?
Rushing a gas membrane job in poor weather almost always leads to compromised seams, pinhole leaks, and failed independent integrity tests. Fixing bad welds after the concrete slab has been poured or groundworks have progressed is extremely difficult and highly expensive.
Taking the time to pre-heat materials, erect temporary shelters, and verify every seam will keep your project running smoothly. Spending a little bit extra on winter protection up front prevents costly project delays and keeps your building compliant with safety rules.
Ready to Discuss Your gas membrane installation Project?
Get in touch with our specialists today for detailed site guidance, technical specifications, and a quotation tailored to your requirements.